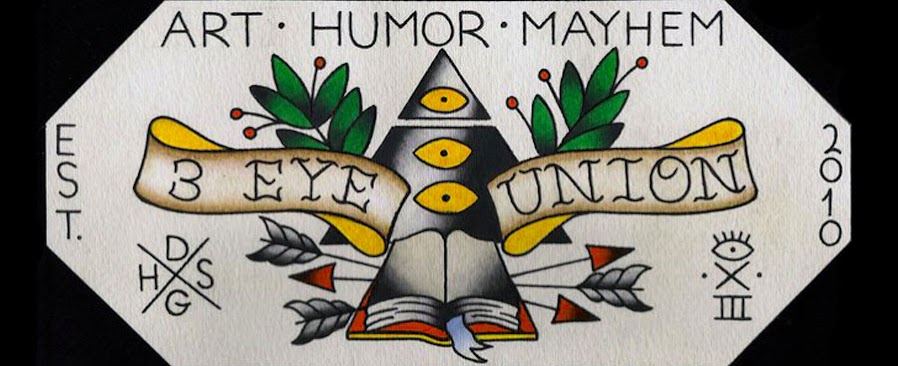
3 Eye Union member and professional tattooer Joel Janiszyn
will teach you how to draw a cool skull.
"Skulls are great because they all have a similar shape and flow to them but even better, you can add your own style or details to make it your own"
What you will need:
1 pencil
1 eraser
1 pen or marker
A sheet or two of paper
1 pack of camel lights (not mandatory but recommended)
1 mp3 player playing Flying Lotus's "Los Angeles" at top volume (not mandatory but recommended)
TIP:
Remember to make preliminary sketches and references marks light and erasable. Also, don't get discouraged. Drawing anything well takes a lot of practice.

First, draw two circles. Size doesn't matter as long as you keep the rest of the skull proportional with them. For inspiration, think of a young, snobby, rich girl who's father bought her breast implants for her 19th birthday and while looking nice in a shirt, her tits are unnaturally round and seems to separate from each other.

Draw a center line between the circles. Draw a "U" centered on the center line and make the "U" come up to the bottom of the circles. Add a smaller "C" shaped swirl to the left of the "U" shape. Now, to the right of the "U" shape bring down a small "N" shape. From the vertical center of this, make a horizontal line. From the center of this new line, make a slightly longer vertical line. From the bottom of this new line, draw a light horizontal line going to the left.

Lightly draw a line from the top of the circles horizontally going left. About the width of the left circle, draw a 135 degree angle coming down about the distance of where the bottom of the "U" shape is. Bring a 90 short line off the top of the angled line and one on the bottom pointing in the opposite direction. Take this shape and draw it again rotated about 90 degrees. This part is tricky and may take some practice.

Directly to the left of the angled lines, draw a fried egg. Also include a fork getting ready to break the yolk above the egg and angle it slightly to the right. Directly under the "U" shape starting at the "light line" draw an upside down letter "t". Make a horizontal reference mark slightly above the cross on the "t".

Centered above the circles, draw a hungry cat looking at the fried egg. Be sure to make the ears pointy and long. Don't forget to have cliche tongue sticking out and a look of desperation in his eyes.

Make 2 vertical lines the height of the reference marks to the left of the upside down "t" and one vertical line to the right. Evenly space them. Using the same spacing, draw a curved line on both sides. See photo above for further demonstration.

Now for the fun part! Draw a big curved line from the middle of the right circle up to the top of the cat's left ear. Draw a curvy line from 3/4 up on the curved line that was part of the series of vertical lines that we made earlier. From the bottom of this new line draw a curvy line going up to the middle right section of the right circle. Connect the series of vertical lines we made in the last step by putting a wavy line on top and bottom directly over the reference lines. See photo for reference. Also, don't forget to make the top of the "U" shape have a point on top.

From the top of the hungry cat's left ear, continue the rounded line around to the left of the fried egg. From there, continue rounded line to the bottom point of the angled shape we made earlier. Then, bring a slight curve down from that point.

Bring a short curved line from the bottom of the angled shape down to the wavy lines under the circles and "U" shape. Make sure it is about an eight of the way down from the top wavy line. From the bottom wavy line, draw a new line (about an eight of the way from the bottom) and curve it around underneath. Keep it fairly parallel to the bottom wavy line (don't be afraid to add a little "wiggle" to the line to add your own personal touch.) Finally, finish the line by bringing it up until it touches the long rounded line we made earlier. See the photo above for a good demonstration.

Finally, with your pen or marker trace the outside lines of the skull. Don't forget to trace the eye sockets, nose cavity, teeth, jaw gab, and cheek lines. Erase all of your reference lines and you are good to go!
THAT'S ALL THERE IS TO IT!
Now that you have the knowledge and some reference you can draw skulls anytime and on anything you want! You can always add variations on some lines to alter the shape and appearance on your skulls. You can add indentions, cracks, and other detail to make the skull more intricate.
Don't forget, practice makes perfect!
Happy skulling!

My name is Joel and I can draw a goddamned skull.
No comments:
Post a Comment